In GTA Online, players can purchase railguns to use against persistent foes or to destroy large vehicles like tanks. Formerly, the Railgun in GTA Online could only be utilized in a select few tasks and not while free roaming. The potency of this weapon makes it ideal for dispatching obstinate NPCs. This article will explain how to obtain the Railgun in GTA Online as well as where to find the Gun Van. In the game, players can save up enough GTA V Online Money.
What is a Railgun in GTA 5 Online?
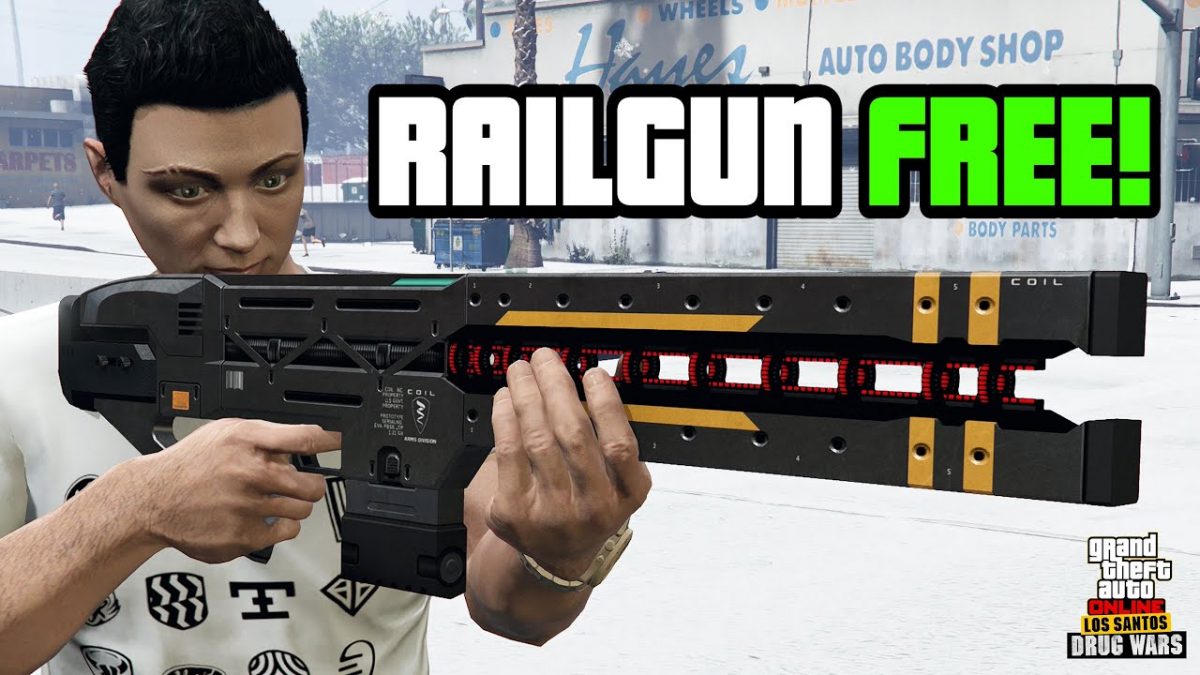
One of the most widely used heavy weapons in GTA 5 Online is the railgun. It’s stocked by GTA 5 Online creator Coil and costs a hefty GTA Cash – 250K to buy from Gun Van; fortunately, players receive a discount after winning a Bronze, Silver, or Gold medal. The Railgun employs the most cutting-edge railgun technology in the GTA and can fire up to 20 rounds at once. This enables it to penetrate even the strongest armour, making it extremely effective against foes of armored vehicles. It also aids in ranged confrontations, making it a great choice for people who want to eliminate opponents from a distance.
Railgun Supplier Locations
In contrast to the traditional GTA Online store, the Gun Van has 30 different locations that are always changing. Also, unlike other merchants, the Gun Van’s icon won’t be visible to players until they are nearby. Look at your map if you’re searching for a deal.
Players can buy the Railgun from the Weapons menu if they locate the Gun Van. The Railgun sells for $250,000. Players should be informed that this is a 10% discount.
How to get Railgun in GTA 5 Online?
In GTA Online, you must locate the Gun Van in order to obtain the Railgun. Go to the “Weapons” section once you’ve finished looking through the van’s inventory. You may find the Railgun by scrolling down in the “Weapons” section. The Railgun is currently discounted 10% to $657,000, but it’s still a good deal.
How to Use a Railgun
Railguns work well against foes who drive armored vehicles. The GTA Online railgun is most effective against helicopters, tanks, armored vehicles, and other vehicles due to the sheer amount of damage it can cause. Furthermore, as it can hurt the player if fired from close range, the railgun is best used at a distance. Since the railgun has little recoil and can destroy the majority of vehicles with a single shot, it is also suitable for beginners.
The information provided above is a detailed guide on how to obtain rail weapons and how to utilize them in GTA Online. In the game, players can purchase enough of GTA V Money.